Traverse Standard v11.0
Vendor Labels
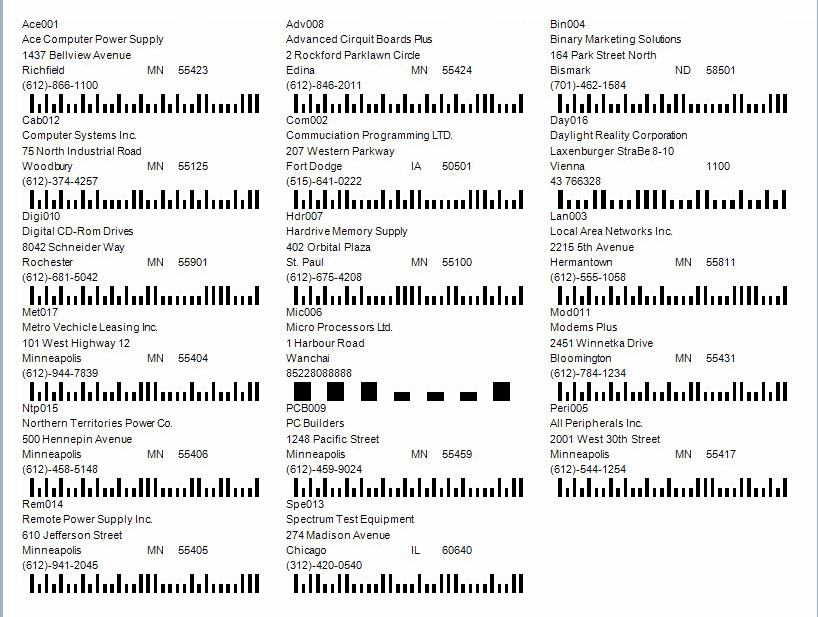
Use the Vendor Labels function to print the selected size of labels for mailings.
A POSTNET barcode, which is an extension of the 9-digit zip code used by the United States Postal Service, is printed on your labels if you chose that option using the Country Codes function of the System Manager Setup and Maintenance menu.
Note: You can reference more detailed instructions in the Label Setup Tutorial in the Traverse Knowledge Base.
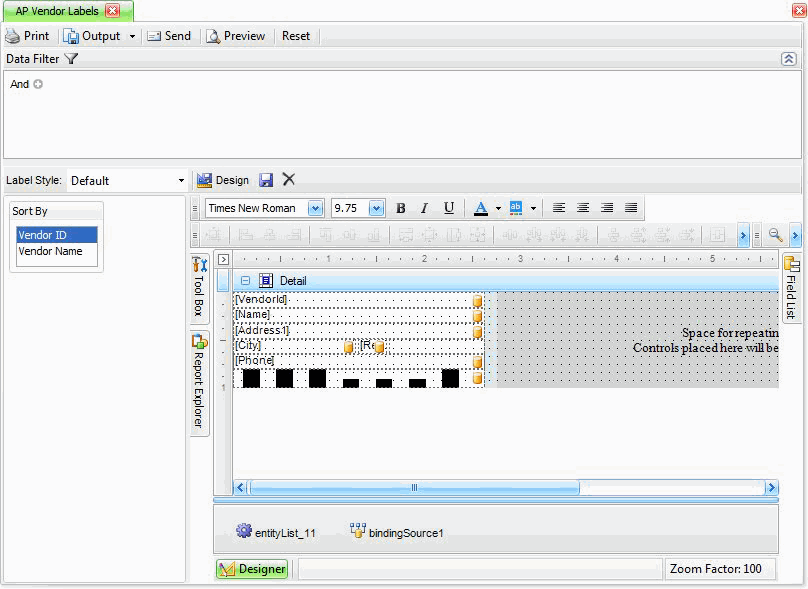

Band Strips, Expand/Collapse Buttons, and Editing
Use this section to
- see the band name, the band icon corresponding to its type, and the expand/collapse button
- expand/collapse a band strip by clicking the plus or minus sign adjacent to the band strip
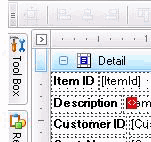
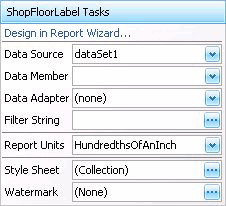
- edit a label's field by double-clicking the field and editing the text as necessary. You can also right-click on the field and select Properties to edit additional properties of the field. Click the arrow button in the upper left corner of the label design to see the task menu.
-
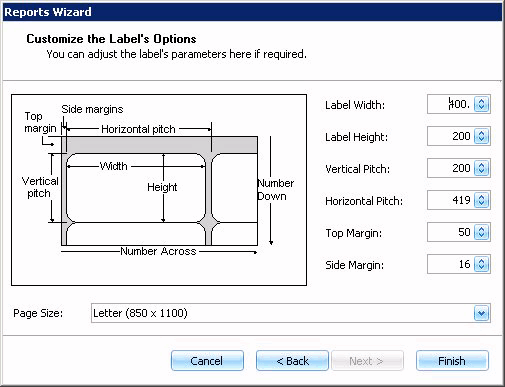
 Select Design in Report Wizard to use the design wizard to help design your label.

- Select the Label Products and Product Number you want to use to print labels.
- Click Next to move to the next screen.
- The Label Width, Label Height, Vertical Pitch, Horizontal Pitch, Top Margin and Side Margin are filled in from the defaults for the selected label product.
- Select the Page Size for the label being printed.
- Select Finish to save the label specifics you selected and return to the Print Labels screen.
|
|
- Use the Data Filter to select the range of filtering options or leave the filter blank to include all available data.
- Select the sorting criterion from the Sort By section.
-
Click a command button to
Select To Print Print the Vendor Labels using the selected criteria. Output Output the labels as a PDF. Send Save the report as a PDF and attach it to an email using your default mail program. Preview Preview the labels using the selected criteria. Reset Reset all fields and lists to their default selections.
